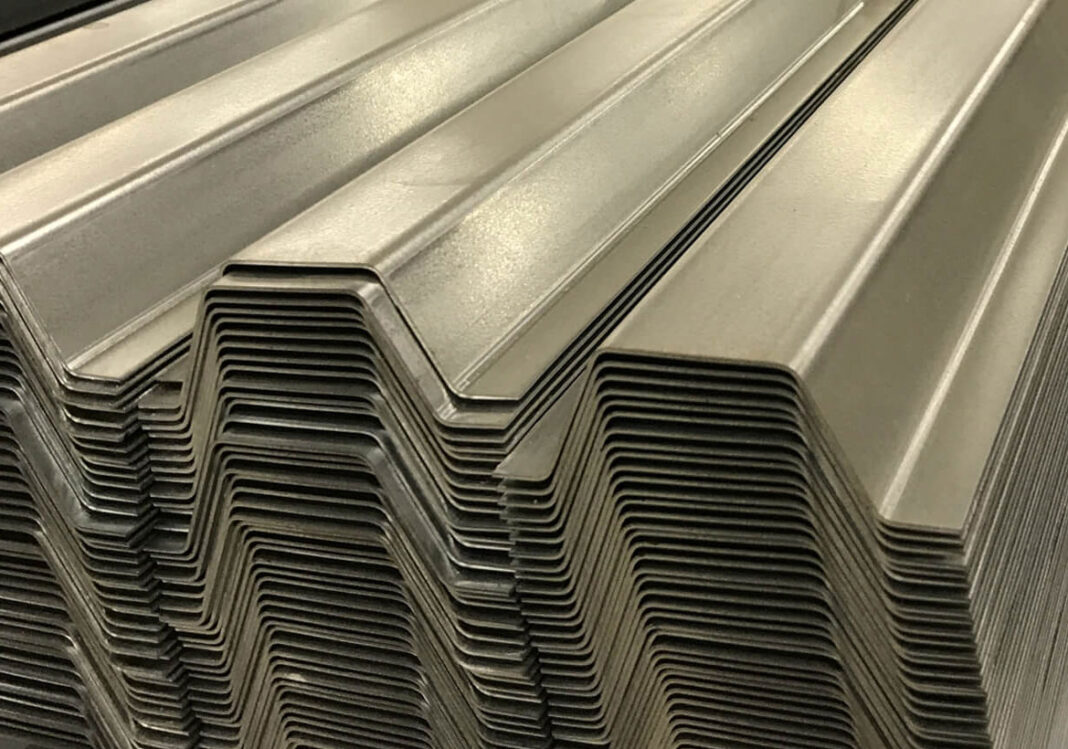
Aluminum channels are widely used in many construction and industrial projects. They are highly versatile, adaptable, and reliable construction materials fit for a wide range of structural applications.
A Hat-shaped aluminum channel, also referred to as a furring channel, is a sturdy type of aluminum channel commonly used to level out uneven or irregular walls and ceilings. With the proper tools and instructions, installing hat channels is relatively straightforward. Below is a simple guide on the installation of aluminum hat channels.
Wall Installation
In wall applications, aluminum hat channels can be attached directly to wall studs or concrete/masonry walls. In typical wood or metal frame walls, you attach the channels at right angles (perpendicular) to the framing members. You position the channels with the slotted holes directly over the framing members and attach using metal screws (one or half-inch) or power-driven fasteners.
Extruded by such machinery, aluminum hat channels usually come with screw holes in the mounting flanges. If not, you can use a power drill to make the holes. You can use Type-W or Type-S screws for wood framing and Type-S screws for metal framing. It is not recommended to use nails to attach furring channels to wood or metal framing members.
You should install the lowest (first) row of channels no more than 2 inches off the floor. On the other end, the highest (last) row should sit no more than 6 inches from the ceiling. Note that these measurements start from the center of the face of the aluminum hat channel. After attachment, you then screw plasterboard or drywall sheets to the furring channels.
For concrete or masonry wall applications, you install hat channels vertically to the surface of the wall. You can use concrete nails, power-actuated fasteners, or screws to attach the channels directly to the building structure.
In all wall applications, the spacing between adjacent furring channels should be between 16 and 24 inches. However, heavier gauge channels allow greater spans and loading capacity.
In some cases, you may need to join two pieces of aluminum hat channels. This is referred to as splicing. When splicing, you need to overlap the two ends of the channels by a minimum of 6 inches. You can then secure the splice using two sheet metal screws.
Ceiling Installation
When it comes to ceilings, you attach aluminum hat channels directly to the underside of the building structure. The hat channels should be installed perpendicular to the joists. The spacing between the hat channels should not exceed 24 inches.
You attach the channels to the ceiling structure using power-driven fasteners, nails, screws, or wires. The first and last channel rows should be installed not more than 6 inches from the adjacent walls. The splicing process in ceiling channel installation is similar to that used in wall applications.
Conclusion
Overall, proper installation of aluminum hat channels is crucial for optimal use of this important structural component. The above installation guide applies to typical or standard applications. It’s advisable to consult a professional installer for unique or specialized applications. Equally as important is sourcing aluminum channels from a reputable manufacturer.
Weiye Aluminium is one of the top aluminum profile suppliers globally. With three decades of manufacturing experience, we operate large-scale extrusion lines capable of producing best-in-class aluminum channels. You can expect top-quality aluminum hat channels and more for residential, commercial, or industrial applications.
Read more articles for anmolideas


