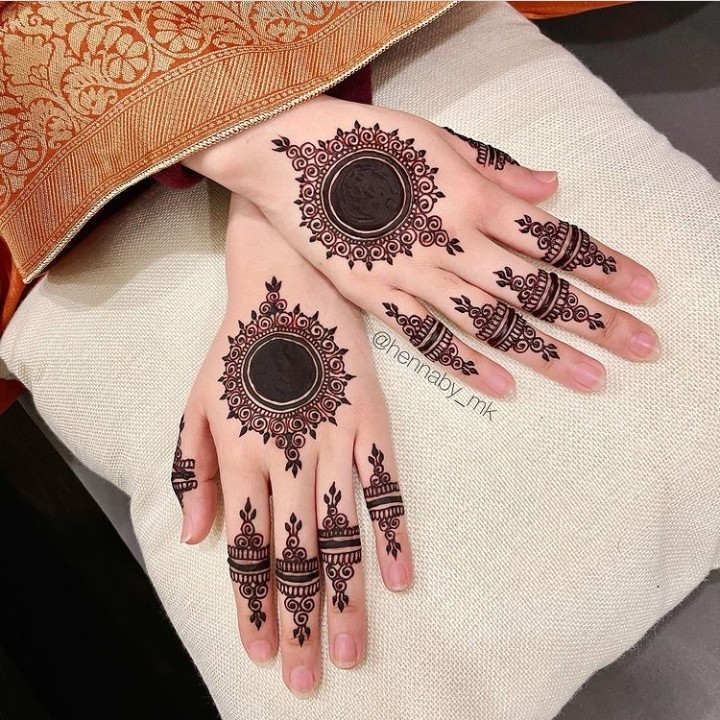
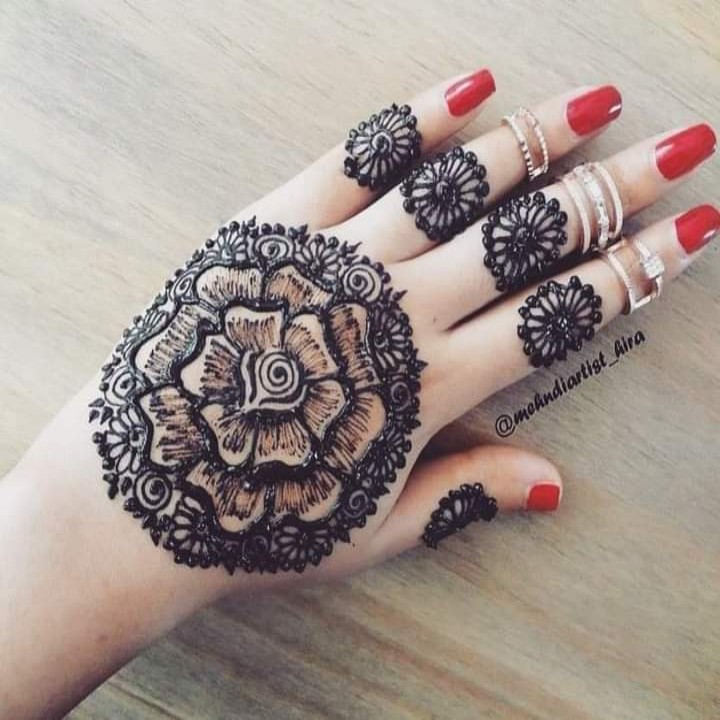
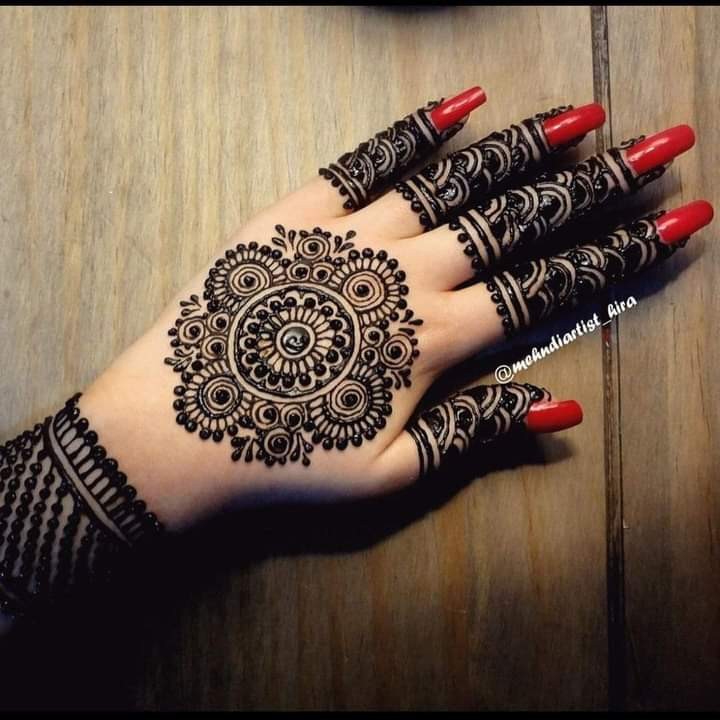
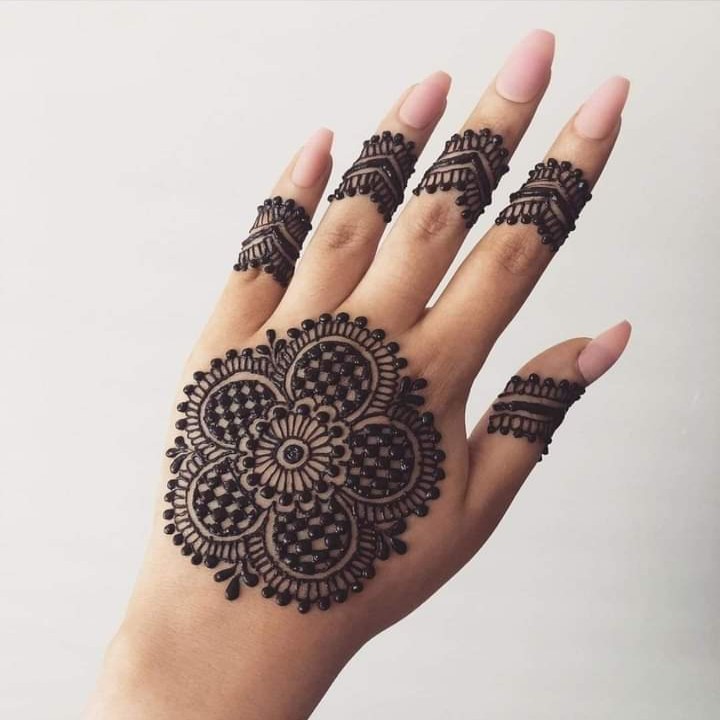
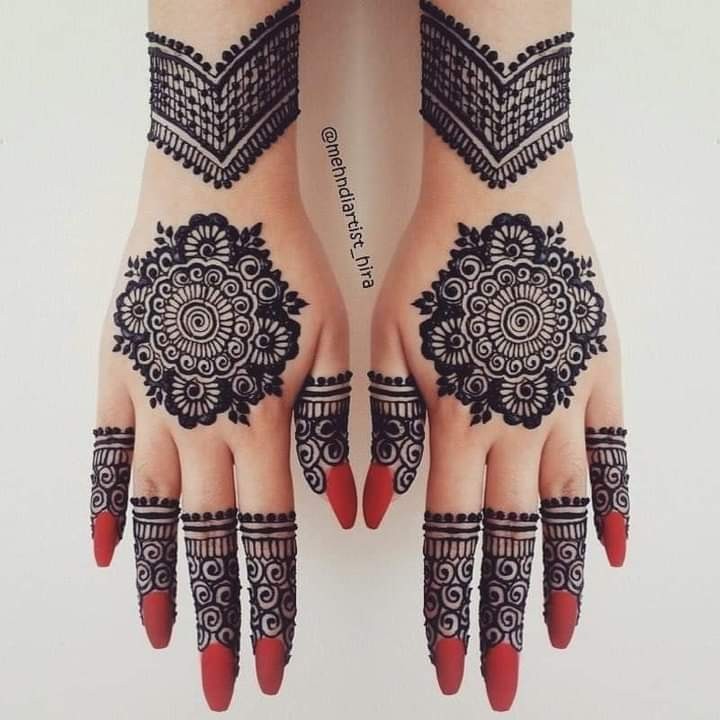
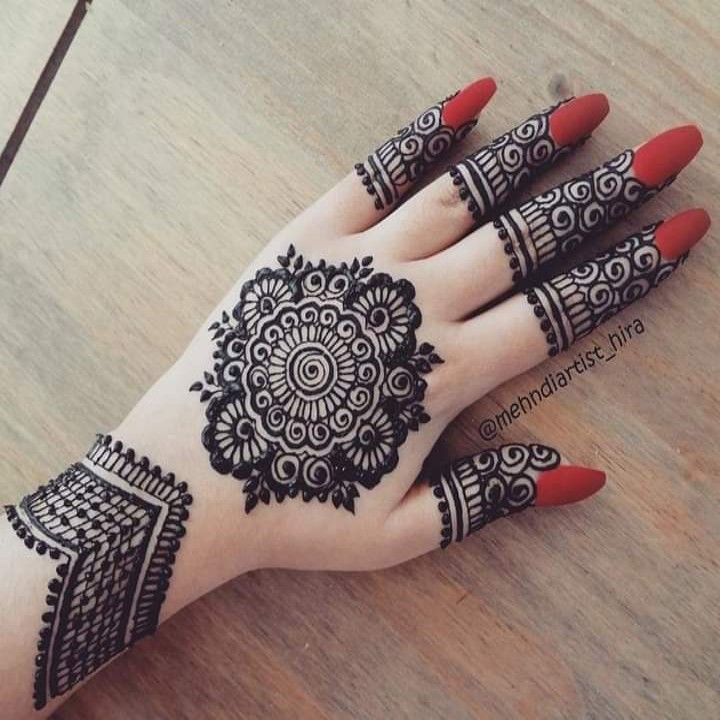
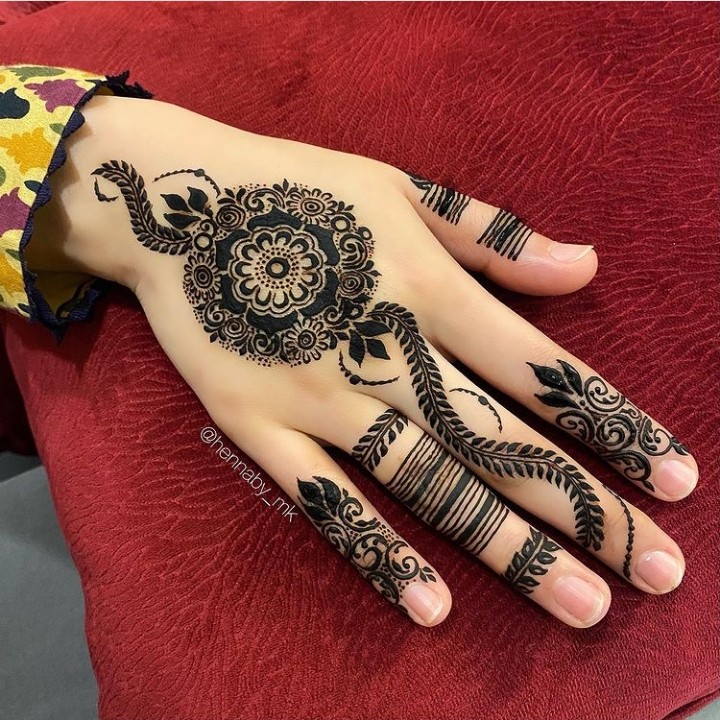
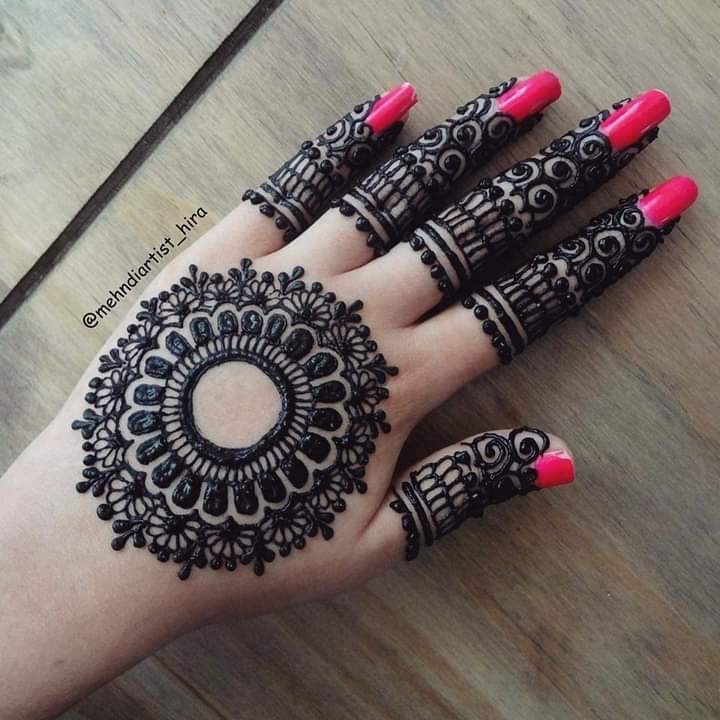
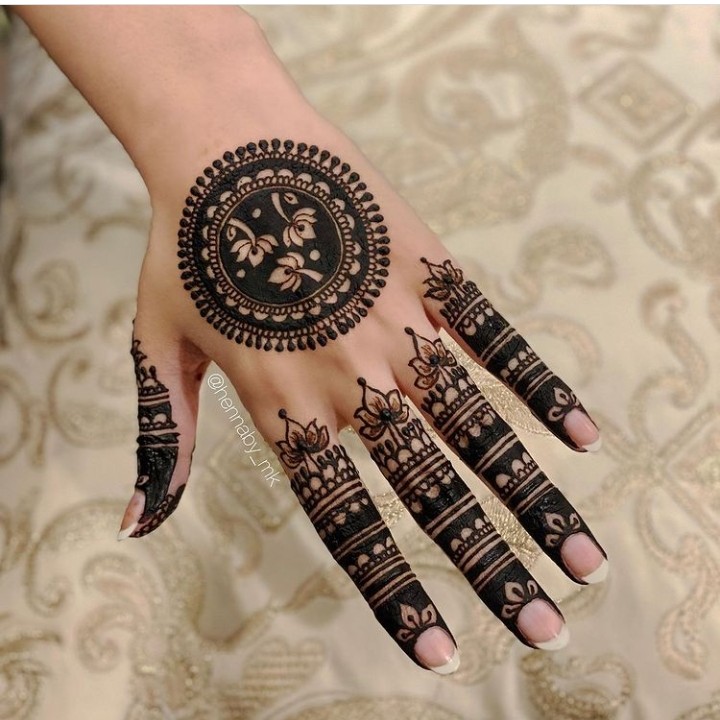
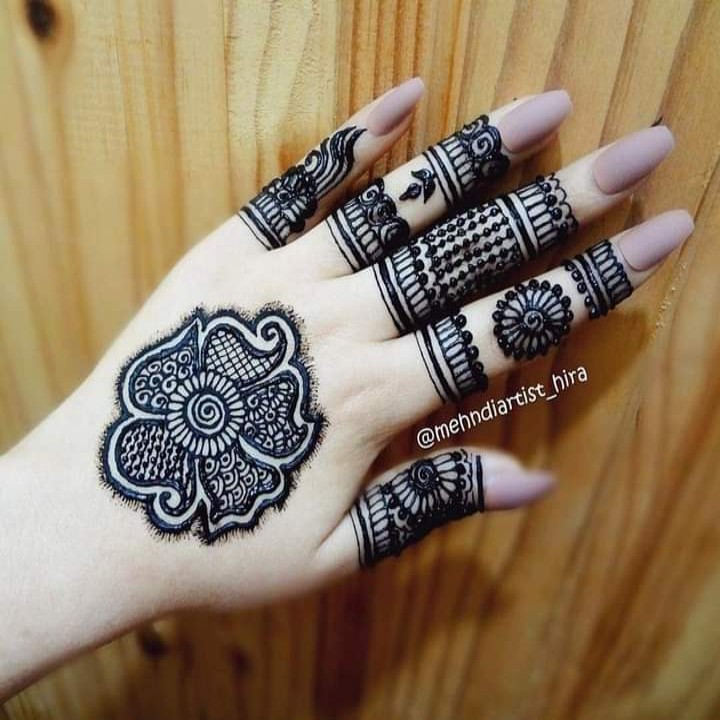
Tikki Mehndi Design are very famous in Punjab region of India and Pakistan. Here is the best collection of Gol Tikki Mehndi Designs.


Do you like MEHNDI but want to try something that is unique? Perhaps the solution is to get a Tikki Mehndi Design that is also a trend and that we can do ourselves by following a series of steps that are very simple to apply. Learn below how to make a Mehndi design at home.
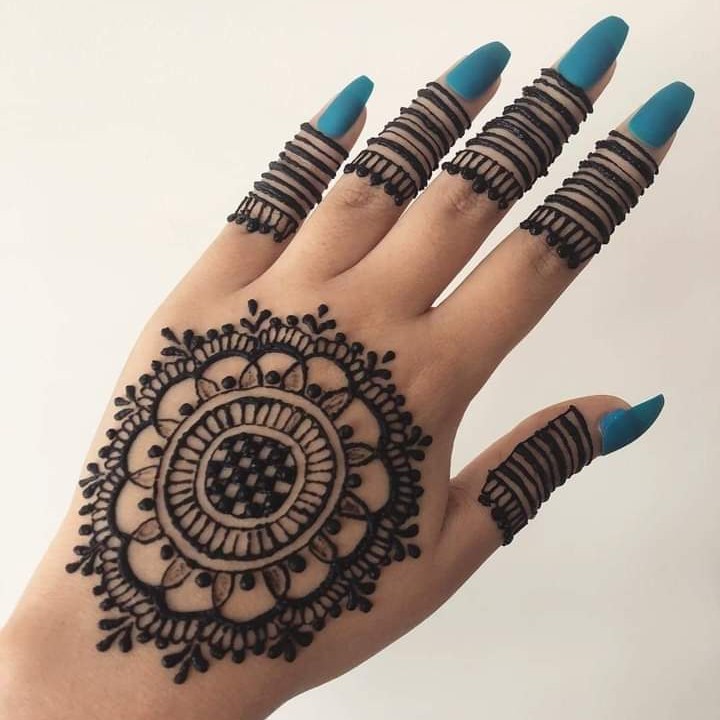
Tikki Mehndi Design
Mehandi designs are non-permanent tattoos of a variable duration , made from a plant called Lawsonia inermis. This is a plant, also known as henna or enna, which has a more or less reddish powder depending on the composition of the flowers and bushes. That will then be the henna for tattoos and it can also be used to apply as a dye of natural hair color.
Henna designs come from the East. Where they are called Mehndi. Their meaning was in the past, synonymous with good omens. Therefore they were used especially during marriage rituals.
also check Blouse Designs
Little by little, the mehndi design craze has spread all over the world. Mainly due to the fact that they last and are cheap compared to a traditional permanent tattoo and that they can also be done at home. The duration of a tikki Mehndi design varies from two weeks to a month, depending on the type of henna used.
Therefore it allows you to show off beautiful non-permanent tattoos. If you want to get a Mehndi design at home, you have to follow these steps.
Steps to make a Mehndi design at home
If you want to do a henna design at home. Then you will need an essential kit for it. Pay close attention to the products that are used and specifically the mehndi powder. That you should first try on a part of the skin, such as the arm. To find out if you have an allergy or not.
Now let’s see the process of making the dough and then the tikki Mehndi design at home

First take the container and add the two tablespoons of henna powder with hot water or lemon, depending on your choice. Stir until the batter has reached a fairly thick consistency, like puree, if you will. Insert the sugar and let the dough rest in a warm place. Rest time can vary from four hours to a full night.
Also check Girls Profile Photos
Obviously the longer you take, the more color the henna will release. Stir again until it reaches a creamy consistency, but not too much. Before the moment of placing the mehndi , insert the drops of essential oil.
Precaution
First try a small diluted amount on the skin. If you have a sensitive epidermis, you can skip this step. Then leave the dough to rest for a few hours. Once the dough is ready, it’s time to proceed with our homemade tikki mehndi design.
If you have a henna tattoo applicator, insert the mixture into it and proceed with the design of your choice.
If you don’t have the applicator, you can also use a pastry bag. To decorate desserts with a very fine tip, or alternatively a plastic bag listed among the ingredients. Simply insert the henna, roll it up like a cone, and then prick the pointy part.
During the drawing of the Mehndi designs, let’s help ourselves with a cotton swab moistened with hot water, to remove any stain immediately.
For smaller parts of the drawing, or that require more precision. We can dip a toothpick into the paint and use it to draw. Once you have finished with the tattoo design you should let it rest for a while. Then you can cover it with olive oil to clean residue and to moisturize.
The Tikki Mehndi Design placement time is variable? Obviously, the more we leave it “in peace”, the longer it will last. To protect it, wrap it first with kitchen paper, and then avoid getting it wet for at least a couple of days, helping with a transparent paper.
In the sea, on the other hand, we cover with abundant protective cream.
Conclusion
While concluding this article i.e Tikki Mehndi Design. I am very hopeful. That you have learn how to make Mehndi design at home. If you like my effort. Then please share this wholesome article with your friends on social media.